Understanding Repair Types Before You Start
Drywall damage falls into three broad categories, each calling for a different approach. Getting the method right from the start saves time and avoids rework.
- Small holes (under ½ inch): Nail pops, screw holes, and minor dings. These need nothing more than lightweight spackling compound and a putty knife.
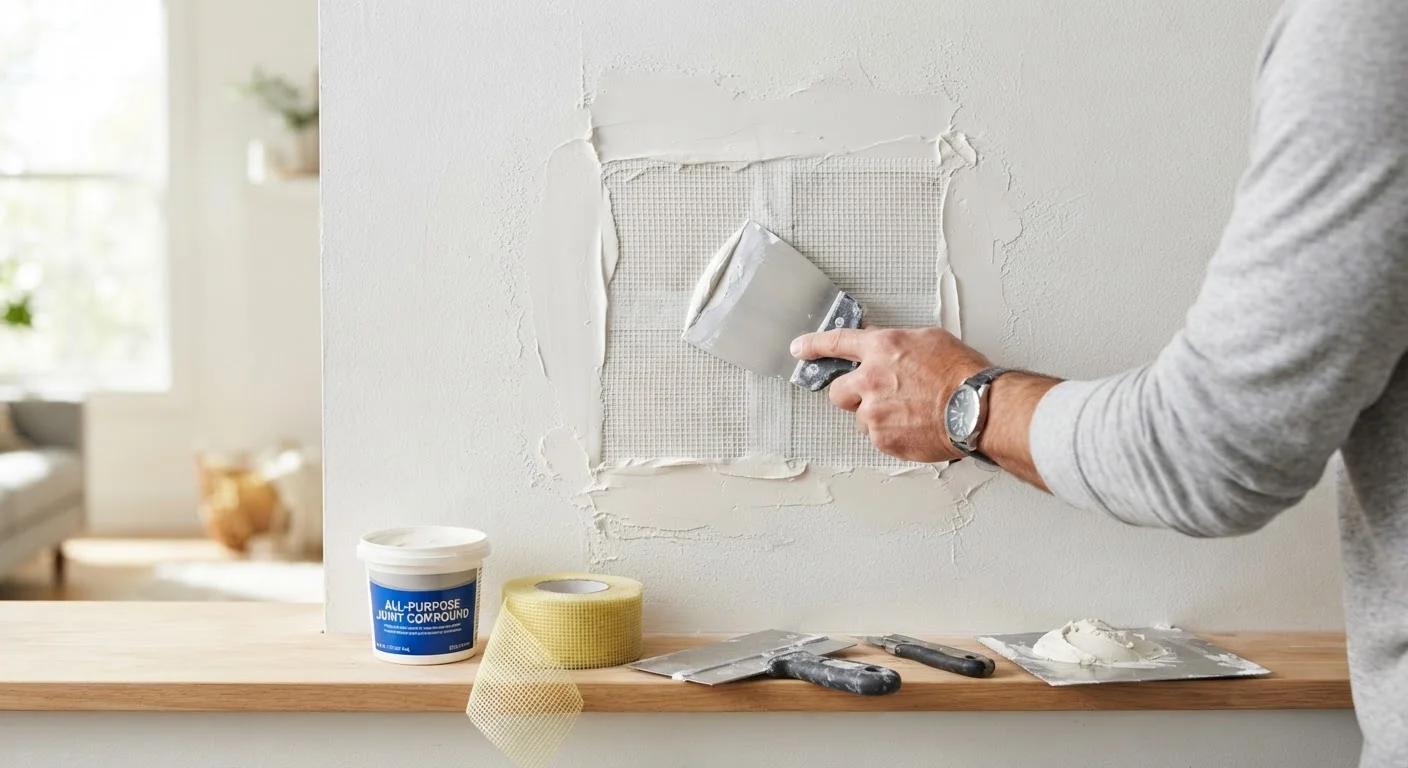
- Medium holes (½ inch to 4 inches): Door handle impacts, anchored hardware pulled loose, or accidental punctures. A self-adhesive mesh patch backed with joint compound handles these well.
- Large holes (over 4 inches): These require cutting out the damaged section and installing a backer board or a replacement drywall piece secured to studs.
Before purchasing materials, probe the area gently with a screwdriver to check for soft or crumbling drywall beyond the visible damage - water-damaged panels often hide wider deterioration. If you find signs of moisture, identify and fix the source before patching.
What you will need
Tools and Materials You'll Need
Having everything on hand before you begin keeps the job moving efficiently. The list shifts slightly depending on hole size, but the core toolkit remains consistent.
Putty knife or drywall knife (6-inch)
Used to apply and feather joint compound across the repair area.
Lightweight spackling compound
Fills small holes and nail pops quickly with minimal shrinkage.
All-purpose joint compound
Covers mesh patches and large repairs, applied in multiple coats.
Self-adhesive fiberglass mesh patch
Bridges medium-sized holes and provides a stable base for compound.
Drywall backer board or wood furring strip
Provides structural support behind large replacement drywall sections.
Replacement drywall panel (same thickness as existing wall)
Cut-to-fit piece used to fill large holes after backer installation.
120- and 220-grit sandpaper or sanding sponge
Smooths dried compound layers and blends edges into surrounding wall.
Primer (drywall or PVA primer)
Seals the repaired area before painting to prevent sheen variation.
Step-by-Step Repair Instructions
Follow these steps in order. For small holes, you'll complete only the first few; larger repairs use the full sequence. Time estimates below assume standard drying conditions - high humidity will extend drying times.
Clean and prepare the damaged area
Remove any loose paper facing, crumbled gypsum, or old fasteners from around the hole. For small holes, use a putty knife to scrape away any raised edges. For larger damage, use a utility knife to cut a clean square or rectangle around the damaged section - straight edges are far easier to patch than irregular shapes.
Install backing support for medium or large holes
For holes between ½ inch and 4 inches, press a self-adhesive fiberglass mesh patch directly over the hole, centered so the mesh extends at least 1 inch beyond all edges.
For holes larger than 4 inches, cut two backer strips (wood furring or thin plywood) slightly longer than the hole's height. Insert them through the opening, hold them against the back of the drywall, and secure them with drywall screws driven through the face of the existing wall on either side of the hole. Then cut your replacement drywall piece to fit snugly and screw it to the backers.
Apply the first coat of joint compound
For small holes filled with spackling, one coat is usually sufficient - apply with a putty knife, overfill slightly, and scrape flush. For mesh patches and replacement panels, load your 6-inch knife with all-purpose joint compound and spread it across the repair using broad, even strokes. Feather the compound outward 4-6 inches beyond the patch edges. Keep this coat thin - roughly 1/8 inch.
Sand lightly and apply additional coats
Allow the first coat to dry fully - typically 24 hours at room temperature. Once dry, sand lightly with 120-grit sandpaper to knock down ridges, then wipe away dust with a damp cloth. Apply a second coat, feathering it even wider than the first (6-8 inches out). For large repairs, a third coat is usually needed to fully conceal the patch and tape lines. Each coat should be thinner than the last.
Final sand and prime
Once your last coat is completely dry, sand the entire repaired area with 220-grit sandpaper using light circular motions. Run your hand across the surface - it should feel smooth and transition without a noticeable edge into the surrounding wall. Wipe with a barely damp cloth to remove all dust, then apply a coat of drywall primer or PVA primer. Allow the primer to dry fully before painting.
Once your final sanded surface feels smooth and the edges blend into the surrounding wall, the area is ready for primer and paint. See our guide to painting interior walls for priming tips that ensure your patch disappears under fresh paint.
When to Call a Professional
Most drywall repairs are genuinely DIY-friendly, but a few situations warrant bringing in a licensed contractor.
- Electrical or plumbing in the wall: If your cut area is near wiring, junction boxes, or pipes, stop and consult a licensed electrician or plumber before proceeding.
- Structural damage: Cracks running diagonally from door or window corners, or damage associated with foundation settling, can indicate structural issues that go well beyond cosmetic repair.
- Extensive water damage: Widespread mold or saturated drywall across a large area requires professional assessment and, in many cases, mold remediation that follows specific safety protocols.
- Textured finishes: Matching heavy knockdown, orange peel, or skip-trowel textures is a skilled trade technique - an imperfect match is often more visible than the original hole.
Not sure whether your project crosses the DIY line? Our DIY vs. hiring a tradesperson guide offers a practical framework covering skill level, safety risk, and permit requirements to help you make a confident call.
Don't Skip a Permit When Required
In many jurisdictions, opening walls as part of a larger renovation - even for cosmetic repair - may require a permit if electrical or plumbing work is involved. Requirements vary significantly by location. Check with your local building department before starting any work that goes beyond surface patching.