Why Preparation Outweighs Everything Else
Professional painters routinely spend more time preparing a room than actually applying paint. That ratio surprises many first-timers, but it reflects a practical truth: paint is unforgiving. It magnifies surface imperfections rather than hiding them, and it won't bond reliably to dirty, glossy, or unstable substrates. A crack left unfilled becomes a crack you can still see through two coats of colour. Grease left on a kitchen wall causes the paint to peel within months.
Before thinking about colour, it's worth understanding what sheen level suits your room. Our guide on paint finishes: matte, eggshell, satin, and gloss explains the practical trade-offs for each type. And if you're working through a broader room refresh, the room redecorating planning checklist is a useful companion to complete before you pick up a brush.
What you will need
Tools and Materials You'll Need
Having the right tools assembled before you start prevents mid-job interruptions and keeps the process moving efficiently. Cutting corners on applicator quality - particularly rollers and brushes - is one of the most common mistakes DIYers make, and it shows in the finished surface.
9-inch paint roller and frame
Covers large flat wall surfaces quickly and evenly with a consistent film thickness.
2-2.5 inch angled brush
Used for cutting in along edges, corners, trim, and ceiling lines where a roller cannot reach.
Roller extension pole
Allows you to reach ceiling-height walls without a ladder, reducing fatigue and improving control.
Painter's tape (low-tack)
Masks trim, outlets, switch plates, and ceiling lines to produce clean paint edges without bleed.
Sandpaper (120-grit and 220-grit)
Smooths patched areas and lightly scuffs existing paint to improve primer and paint adhesion.
Spackling compound or joint compound
Fills nail holes, hairline cracks, and minor surface voids before priming.
Primer
Seals bare drywall, stains, and dark colours to ensure uniform paint absorption and true colour.
Drop cloths
Protect flooring and furniture from drips, spills, and overspray during the entire painting process.
Step-by-Step: From Bare Wall to Finished Surface
Follow these steps in order. Skipping ahead - especially applying paint before primer has fully dried - is the most reliable way to create more work for yourself later.
Clear and protect the room
Remove wall plates from outlets and light switches and set them aside. Lay drop cloths across the entire floor area and drape any furniture left in the room. Take down curtain rods, picture hooks, and any wall-mounted fixtures that could interfere with painting or taping.
Clean all wall surfaces
Wipe down walls with a damp sponge and a mild solution of dish soap and warm water. Pay particular attention to areas around light switches, door handles, and kitchen walls where grease accumulates. Allow surfaces to dry completely - at least one hour - before proceeding.
Fill holes and cracks
Apply spackling compound to nail holes, hairline cracks, and small voids using a putty knife. Press the compound firmly into the void and scrape the surface flush. For cracks wider than 3mm, use joint compound and embed a strip of fibreglass mesh tape before applying the compound over the top. Allow to dry fully according to the manufacturer's guidance - typically two to four hours for spackling, longer for joint compound.
Sand and dust
Once all fills are fully dry, sand patched areas with 120-grit sandpaper until they are flush with the surrounding wall. Follow with 220-grit for a smoother finish. If you're painting over an existing gloss or semi-gloss finish, lightly scuff the entire wall surface with 220-grit to give the primer something to grip. Wipe all sanded surfaces with a dry tack cloth or lightly damp rag to remove dust.
Apply painter's tape
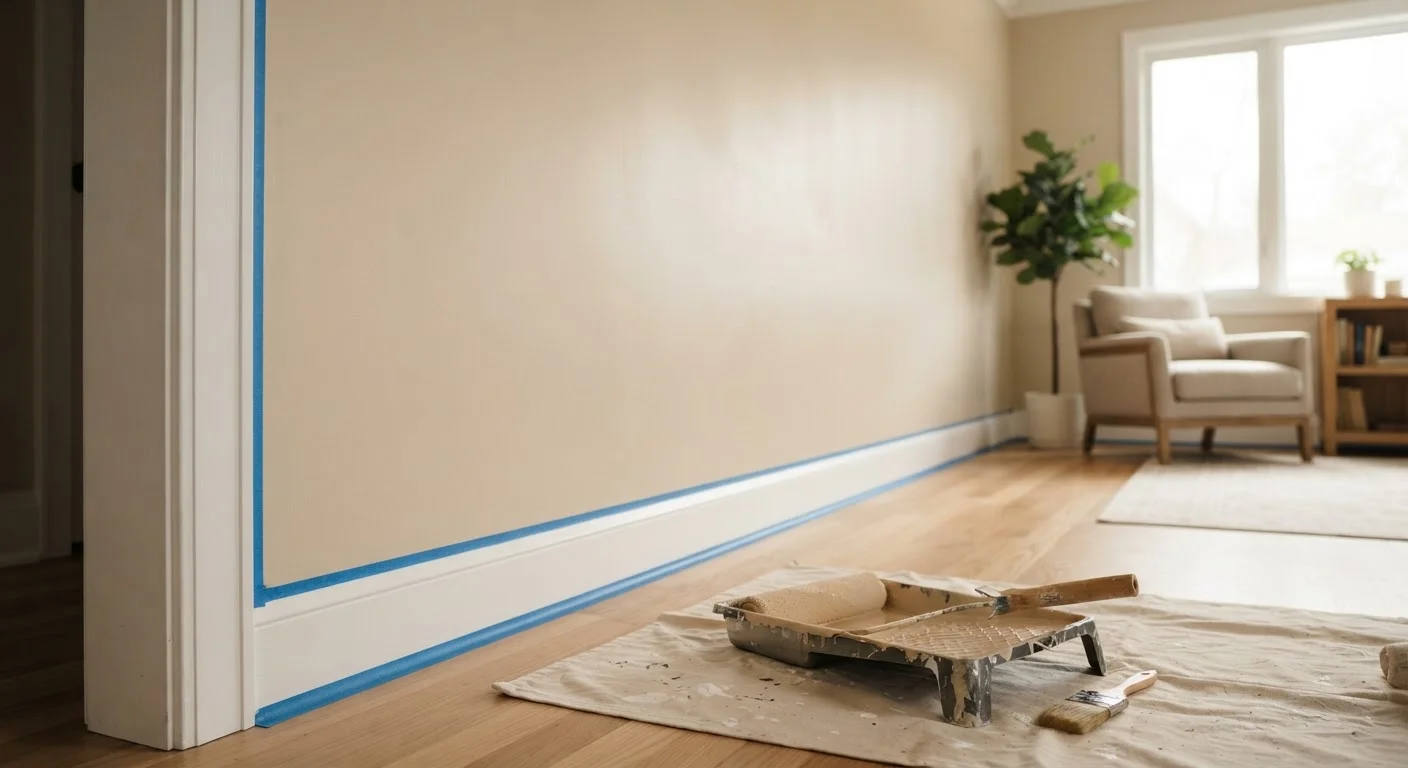
Run painter's tape carefully along the ceiling line, baseboards, window and door trim, and any adjacent surfaces you want to protect. Press the tape edge down firmly with a putty knife or your fingernail to prevent paint from bleeding underneath. Apply tape only to fully dry surfaces.
Prime the walls
Apply primer to the entire wall surface - not just patched areas - whenever you're working on bare drywall, covering a stain, or making a significant colour change. Use your angled brush to cut in around edges and corners first, then roll the rest of the wall using a W or M pattern to distribute primer evenly. Allow primer to dry fully before painting, typically two to four hours, though check the product label for guidance.
Apply the first coat of paint
Cut in around all edges with your angled brush first, working in sections of roughly 60cm at a time. Then load your roller and apply paint to the wall using a W or M pattern, filling in the pattern without lifting the roller until the section is covered. Work from top to bottom and maintain a wet edge by blending each new section into the previous one before it dries. Apply a thin, even coat - resist the urge to overload the roller.
Allow to dry and apply a second coat
Allow the first coat to dry thoroughly - most latex interior paints require a minimum of two hours between coats, though humidity and temperature affect this. Once dry, lightly inspect the surface for drips or high spots and sand them gently with 220-grit before applying the second coat using the same technique as the first. Two coats applied correctly will deliver better coverage, a more uniform sheen, and a more durable finish than one heavy coat.
Let Each Layer Dry Fully
Rushing between coats is the single most common cause of poor results in DIY interior painting. Even if the surface feels dry to the touch, the underlying paint film may still be soft and vulnerable to drag marks from a roller. Always respect the minimum recoat time on the paint label, and allow extra drying time in humid or cool conditions.
Common Problems and How to Avoid Them
Lap marks appear when you paint over a section that has already begun to dry. To avoid them, maintain a wet edge by working in continuous sections and never stopping mid-wall. On large walls, work quickly and keep the roller loaded.
Bleed-through under tape usually means the tape was pressed onto a dusty or slightly damp surface, or wasn't burnished firmly along its edge. Run a putty knife or fingernail along the tape edge after applying it to seal it properly.
Bubbling or blistering typically signals moisture in the wall or paint applied over an incompatible surface. If bubbling recurs after repainting, investigate the moisture source before proceeding - this is particularly common in bathrooms and kitchens.
Uneven sheen is often caused by inconsistent film thickness. Maintain the same pressure and roller speed throughout, and avoid overworking sections that are beginning to set.
If you're comparing interior painting to other wall treatment options, our overview of statement wall treatments including wallpaper, panelling, and tile breaks down the relative effort and durability of each approach.
Older Homes and Lead Paint
Homes built before 1978 may have lead-based paint on walls and trim. Sanding or scraping lead paint generates hazardous dust. If your home falls in this category, test surfaces with a lead test kit before sanding, and follow EPA guidance on safe work practices. When in doubt, consult a certified lead-safe contractor rather than proceeding with standard DIY methods.