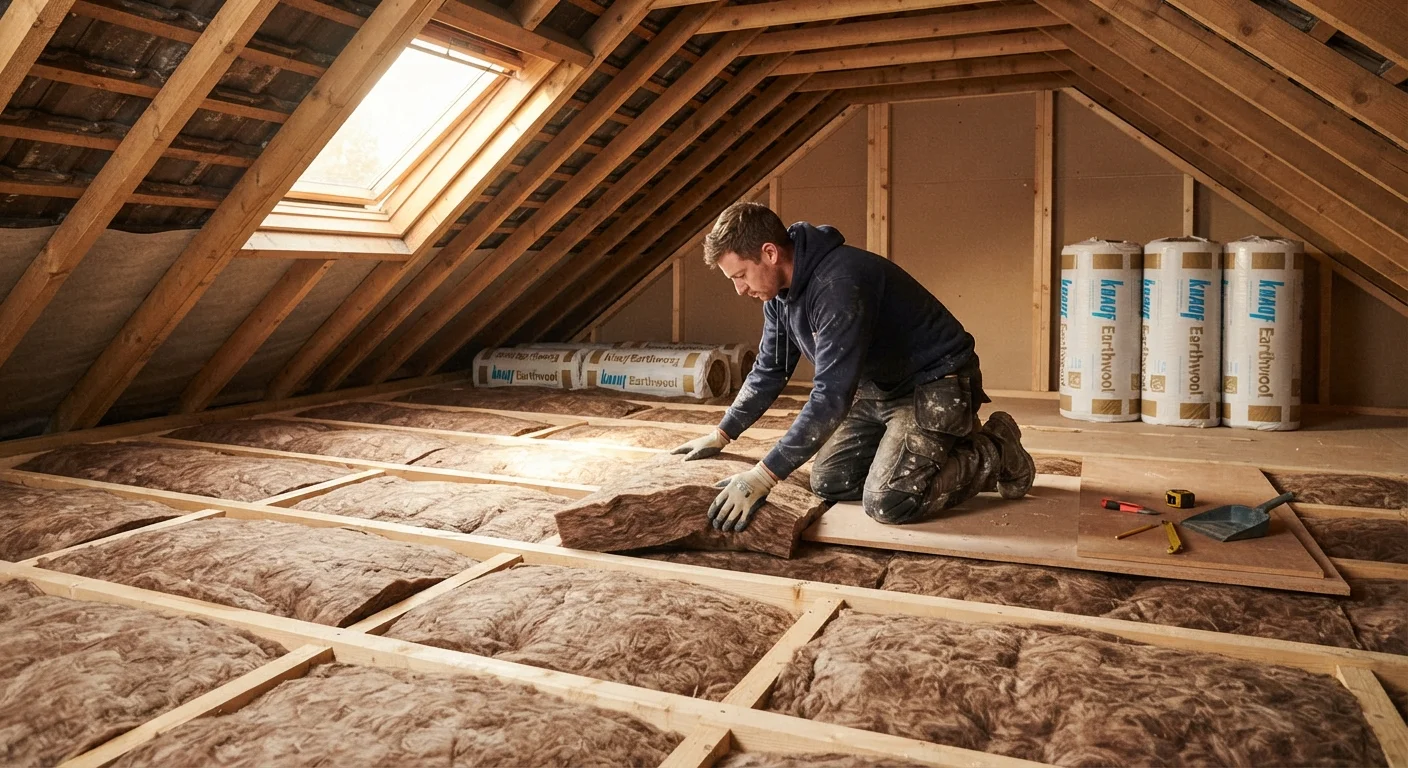
How Loft Insulation Actually Works
Heat moves naturally from warmer spaces to cooler ones. In winter, that means the warmth you've paid to generate inside your home is constantly working its way upward and out through the roof. Loft insulation - also called attic insulation in the US - interrupts that flow by creating a layer of trapped air within a low-conductivity material.
The performance of any insulation material is measured by its R-value, a rating of thermal resistance. The higher the R-value, the more effectively the material slows heat transfer. The US Department of Energy provides general guidance on recommended R-values by climate zone, with colder northern regions typically requiring R-49 to R-60 in the attic, and warmer southern climates requiring less.
Common materials include fiberglass batts (pre-cut rolls), loose-fill fiberglass or cellulose blown in by machine, and spray foam. Each has different R-values per inch, installation requirements, and cost profiles. Cellulose, made partly from recycled paper, is a popular choice for both environmental and cost reasons. Spray foam offers the highest R-value per inch but is considerably more expensive and generally requires professional installation.
For a broader look at where energy waste tends to occur throughout the home, see our guide to hidden household energy costs.
Reduces heat loss through the roof year-round
The US Department of Energy estimates that up to 25% of home heat can escape through an uninsulated attic. Adding adequate insulation addresses one of the largest single sources of thermal loss in most homes.
Can lower heating and cooling energy bills
By reducing the workload on your HVAC system, insulation can contribute to measurable reductions in energy consumption - though the actual savings depend on climate, existing insulation, and household habits.
Improves indoor comfort in all seasons
Beyond winter warmth, insulation also slows heat entry during summer, helping rooms stay cooler and reducing the strain on air conditioning systems.
Relatively accessible DIY option for simple attics
Batt and blown-in insulation are among the more approachable home improvement projects for homeowners with unfinished, accessible attics - requiring basic protective gear and careful attention to coverage.
May qualify for tax credits or utility rebates
Depending on the material used and current federal or state programs, insulation upgrades can qualify for financial incentives that reduce the net installation cost.
Typical Costs and What Affects Them
Installation costs vary based on attic square footage, chosen material, current insulation levels, and local labor rates. As a general range, professionally installed loft insulation typically runs between $1,500 and $4,000 for an average-sized home. Blown-in cellulose and fiberglass are usually less expensive per square foot than spray foam, which can push totals higher.
25%
Heat loss attributable to an uninsulated attic
The US Department of Energy estimates that up to a quarter of home heat can escape through the roof in homes with inadequate attic insulation.
$1,500-$4,000
Typical professional installation cost range
Cost estimates for professionally installed attic insulation in an average US home, varying by material, attic size, and regional labor rates.
If your attic is already partially insulated, topping it up is cheaper than starting from scratch - but the payback period also lengthens because the baseline heat loss is already reduced. DIY installation of batt or blown-in insulation is a realistic option for homeowners with accessible, uncomplicated attics. However, attics with complex framing, limited headroom, or signs of moisture problems are better handled by a professional who can assess conditions first.
Some states and utility companies offer rebates or incentive programs for insulation upgrades. The federal Residential Clean Energy and Energy Efficiency credits have also covered insulation improvements under certain conditions - check IRS guidelines and local utility programs for current eligibility. For strategies on managing the broader cost of home improvements, see practical renovation budgeting approaches.
Upfront cost can be significant
Professional installation for an average home typically ranges from $1,500 to $4,000 or more, and payback periods can stretch to several years depending on local energy prices and starting conditions.
Poor installation risks moisture and mold problems
Blocking roof ventilation pathways during installation can trap moisture, leading to condensation, mold growth, and damage to roof decking - potentially costing more to remediate than the insulation saved.
Eliminates attic storage space if insulated at floor level
Insulation laid between attic floor joists makes that area unusable for storage unless a raised platform is added, which increases project complexity and cost.
Complex attics require professional assessment
Attics with irregular framing, existing damage, HVAC equipment, or non-IC-rated lighting fixtures are not straightforward DIY projects and require qualified evaluation before any insulation work begins.
Potential Pitfalls to Plan Around
Insulation done poorly can cause problems that outweigh the energy savings. The most common issue is moisture accumulation. When warm interior air meets the cold underside of a roof deck, condensation can form. Adequate roof ventilation - through eave vents, ridge vents, or baffles between rafter bays - must be preserved or added during installation to prevent mold, rot, and structural damage.
Ventilation Must Not Be Blocked
Building codes in most US jurisdictions require a minimum ratio of attic ventilation to floor area, typically 1:150 or 1:300 depending on vapor barrier use. Insulation baffles (also called rafter vents) should be installed at each eave bay before adding insulation to keep airflow pathways open. Always verify local building code requirements before starting work, and consider having a licensed contractor or building inspector confirm that ventilation will remain adequate after installation.
Attics also often house HVAC ducts, recessed lighting fixtures, and electrical wiring. Covering these incorrectly can create fire hazards or reduce equipment efficiency. IC-rated (insulation contact-rated) recessed fixtures can be covered safely; older non-IC fixtures require clearance. A pre-installation walkthrough by a professional or experienced contractor helps identify these constraints before work begins.
Finally, consider access and storage. Adding insulation to the attic floor effectively eliminates usable storage space in that area unless a raised platform is built over the insulation - an added cost worth factoring in from the start.