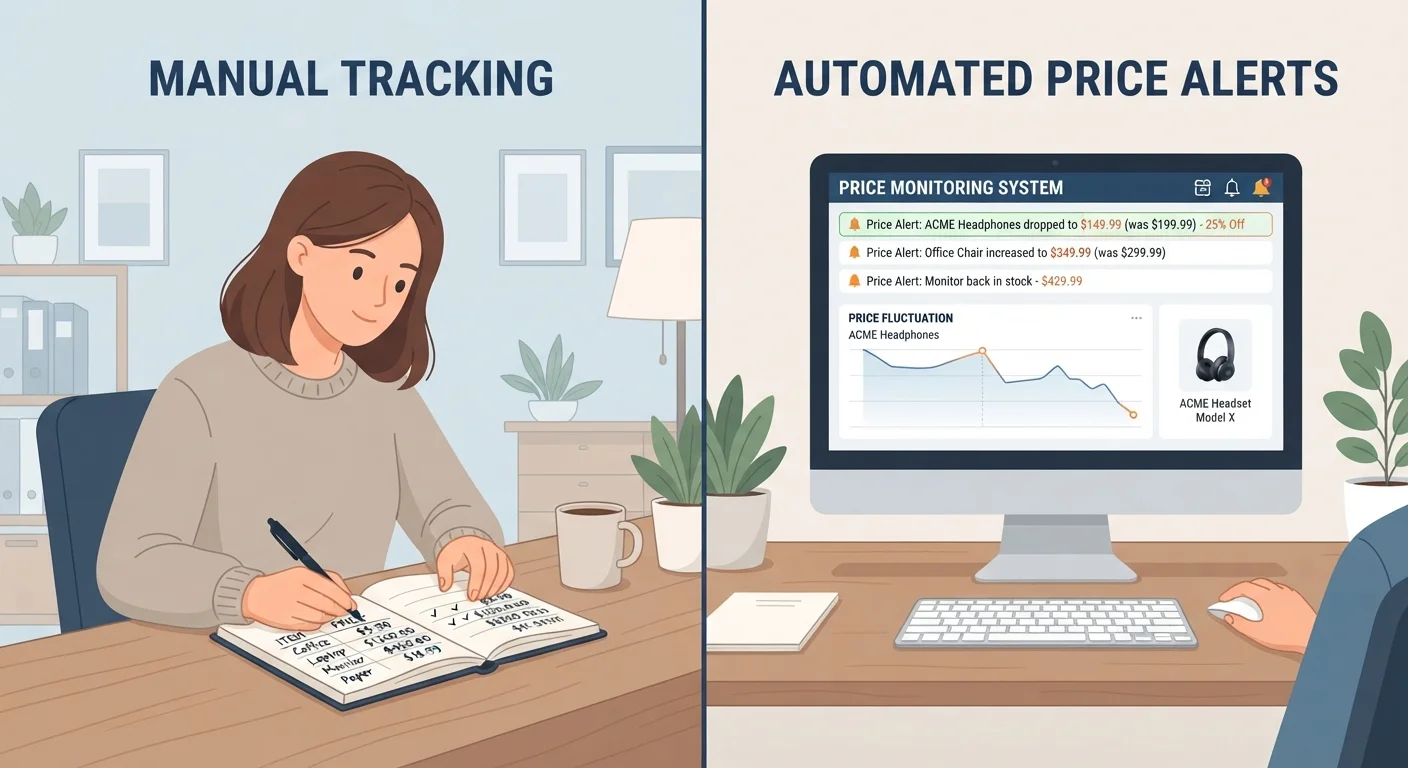
What Each Approach Actually Involves
Manual price tracking means you personally visit retailer websites, note prices in a spreadsheet or notebook, and revisit those records periodically to gauge movement. Automated price tracking relies on software tools - browser extensions, dedicated apps, or retailer alert features - that monitor a product's price history and notify you when conditions change.
Both approaches share the same goal: helping you buy at a price you've verified rather than one you've assumed. But they require very different inputs from you. Manual tracking demands your time and discipline. Automated tracking demands your trust in a third-party tool and a willingness to filter its output. Understanding this distinction upfront is essential before choosing your default method. For a broader grounding in how price comparison works, see The Complete Guide to Comparing Prices Like a Savvy Consumer.
The Case for Manual Tracking
Manual tracking gives you something algorithms rarely capture: interpretive context. When you visit a product page yourself, you can simultaneously notice whether the seller has changed, whether reviews have shifted, or whether a price drop coincides with an inferior bundle configuration. These qualitative signals matter, especially for high-value purchases like appliances, electronics, or auto parts - categories where managing costs strategically makes a real difference.
The main drawbacks are time and consistency. Checking prices manually across even three or four retailers for a single product takes meaningful effort per session. Sustaining that habit across multiple products, over weeks, is where most consumers fall short. Manual tracking is most effective when it's focused - a single category, a defined purchase window, a short list of retailers.
Build a Lightweight Price Log
Use a simple spreadsheet with date columns to record each retailer's price for products you're actively evaluating. Even four or five data points over two to three weeks can reveal meaningful price patterns and help you distinguish a genuine drop from routine fluctuation.
Use a simple spreadsheet with date columns to log each retailer's price. This creates a lightweight price-history record you can reference at any point without relying on external tools.
The Case for Automated Tracking
Automated tools eliminate the need for repeated manual checks. A price-tracking browser extension, for example, can show historical price data directly on a product page and email you when a price drops below your target threshold - without any additional effort on your part after the initial setup.
This is particularly valuable for shoppers monitoring a wide range of items simultaneously or those with irregular schedules that make consistent manual checking impractical. Automation also removes emotional bias: you set your target price when you're calm and rational, and the alert fires only when that threshold is met. For a practical look at how saving automation more broadly plays out, Automating Your Savings: What Works, What to Watch, and Where People Go Wrong offers relevant perspective.
The limitations are real, though. Automated tools can miss flash sales, in-store pricing, or multi-item bundle discounts that don't register cleanly in their data feeds. Alert fatigue - too many notifications - can cause shoppers to dismiss genuinely useful signals.
Automated Alerts Have Blind Spots
Price tracking tools typically pull from a product's listed page price and may not account for bundled promotions, seller changes, or temporary in-store discounts. Before acting on an automated alert, take a moment to verify the current listing details directly - confirm the seller, shipping terms, and item configuration match what you originally intended to buy.
Side-by-Side Comparison
The table below summarizes how the two approaches compare across the criteria that matter most to everyday shoppers. No single row should decide your approach - look at where your situation aligns most.
| Manual Tracking | Automated Tracking | |
|---|---|---|
| Time required | High - ongoing check-ins needed | Low after initial setup |
| Context and nuance | Strong - you interpret what you see | Limited - data-driven, misses qualitative cues |
| Number of products trackable | Low - practical for a handful | High - scales to dozens easily |
| Alert reliability | Depends on your consistency | Consistent, but prone to alert fatigue |
| Coverage of in-store prices | Possible with effort | Typically online-only |
| Suitability for high-stakes purchases | Well suited | Use as starting point, verify manually |
For a practical walkthrough of applying either method before a real purchase, the Before You Buy checklist is a useful companion. If you're newer to price comparison tools in general, Making Sense of Price Comparison Tools provides solid foundational context.
Choosing the Right Fit - or Using Both
For most consumers, the most reliable approach is a deliberate combination. Set automated alerts on products you're watching passively - items you'd buy opportunistically if the price fell. Apply manual tracking selectively when you've committed to a purchase and want to verify you're not overpaying relative to current market conditions.
The key variable is purchase frequency. If you shop for big-ticket or specialized items infrequently, manual tracking's extra effort is worth the added context. If you're a frequent buyer across many categories, automation handles the monitoring load that manual methods can't sustain. Neither approach guarantees you'll always find the lowest price - market conditions, seller dynamics, and timing all introduce variability that no tracking method can fully eliminate.
For those managing costs across everyday spending - including recurring categories like household and lifestyle purchases - combining both methods into a simple personal system takes less time than most people expect once the initial setup is done.