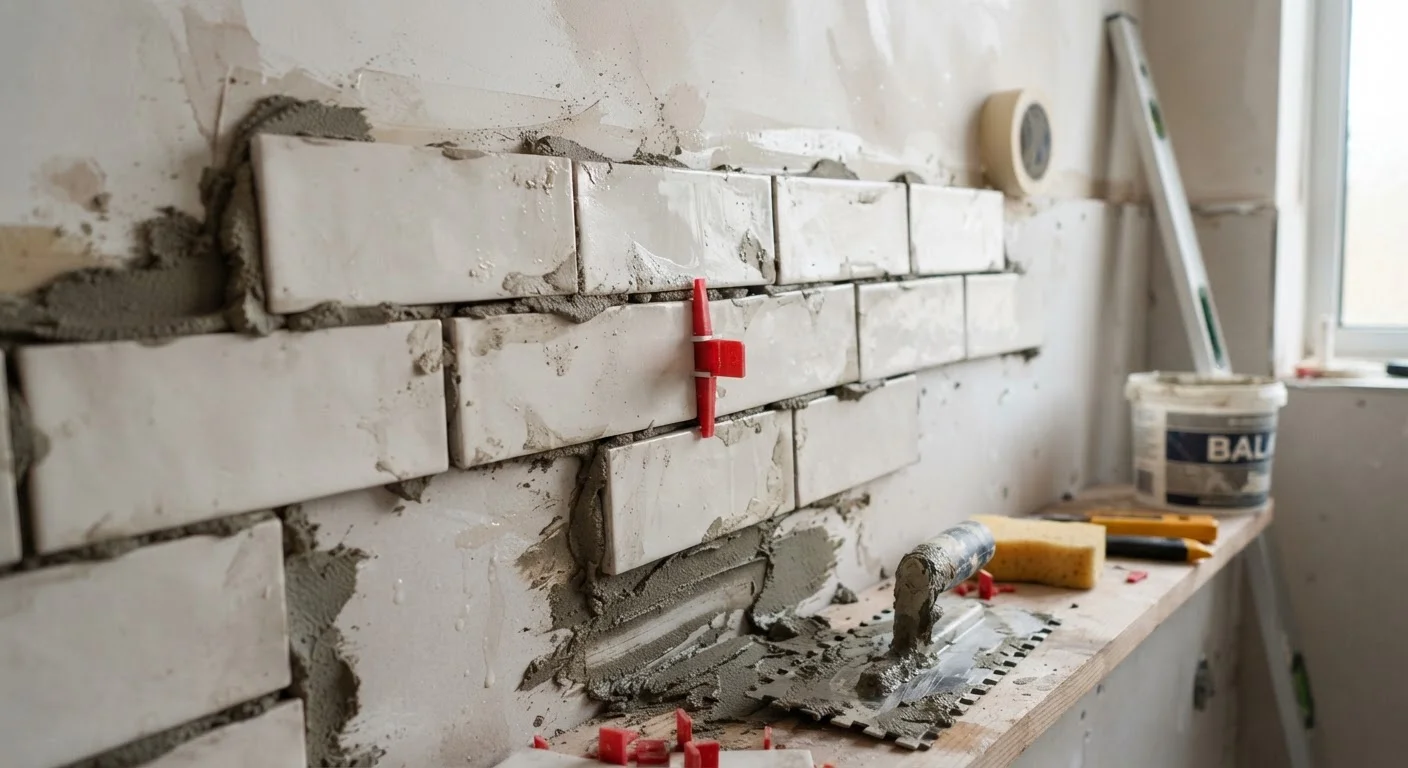
Why Tiling Failures Are Almost Always Preventable
Cracked grout lines, tiles that pop off the wall, and moisture damage lurking behind a pristine surface - these are the most common outcomes of bathroom tile projects that go wrong. The frustrating truth is that nearly all of them stem from decisions made before a single tile was set.
Bathroom tiling sits at the intersection of surface preparation, material selection, and technique. Unlike interior painting, where errors are often correctable mid-project, tiling mistakes tend to be hidden under finished work and only reveal themselves after the fact - sometimes years later. That lag between cause and consequence is exactly why prevention matters so much.
Understanding the root causes of common failures gives you the knowledge to work methodically rather than reactively. The sections below cover the mistakes most likely to compromise your project - and the specific actions that prevent them.
~30%
DIY tile projects requiring professional repair
Industry estimates from tile trade organizations suggest roughly a third of amateur tiling jobs develop issues serious enough to need professional remediation within a few years.
24-48 hrs
Minimum adhesive cure time before grouting
Most polymer-modified thinset manufacturers specify a minimum 24-hour cure period under standard conditions before grout can safely be applied.
The Six Mistakes That Derail Most Tile Projects
Each of the following errors is common enough to appear regularly in professional remediation work. They're also, without exception, avoidable with proper planning and patience.
Starting on an unprepared or uneven substrate.
Why it happens: Homeowners often assume a visually flat wall or floor is structurally ready. In reality, minor flexing, dust, or moisture in the substrate prevents proper adhesion.
Skipping or underestimating waterproofing in wet areas.
Why it happens: Waterproofing adds time and material cost, and it's invisible once tiling is complete - making it easy to deprioritize.
Using the wrong type of tile adhesive or mortar for the application.
Why it happens: Not all adhesives are equal, and packaging can be confusing. Using a general-purpose adhesive in a steam shower or a mismatch between adhesive and large-format tile is a common error.
Poor tile layout planning that results in awkward slivers or off-center patterns.
Why it happens: Jumping straight to installation without mapping the layout means the eye-level center of the wall may end up with a 1-inch cut tile on one side and a full tile on the other.
Grouting before the adhesive has fully cured.
Why it happens: Impatience - or an underestimation of cure times - leads to grouting within hours of setting tile. Movement during this window shifts tiles and stresses joints.
Applying grout inconsistently or leaving gaps unfilled.
Why it happens: Grout float technique takes practice, and beginners often rush or fail to work diagonally across joints, leaving voids.
If you're weighing tiling as part of a broader feature wall decision - comparing it against paint, wallpaper, or panelling - a comparison of wall treatment options can help frame the trade-offs before you commit to materials.
Waterproofing Is Non-Negotiable
In shower enclosures and around tub surrounds, water vapor and direct water contact will penetrate even well-grouted tile over time. Without a proper waterproofing membrane behind the tile substrate, moisture can reach wall framing and cause mold, rot, and structural damage. This work may require permits in some jurisdictions - check local building codes before starting.
Building a Process That Avoids These Pitfalls
The homeowners who complete successful tile projects aren't necessarily more skilled - they're more systematic. A consistent process looks like this: assess and prepare the substrate fully before purchasing materials, select products matched to the environment and tile type, plan the layout dry before any adhesive is mixed, and allow every curing step the time the manufacturer specifies.
Don't Skip the Dry Layout Step
Setting tiles without first doing a dry run on the floor or a flat surface makes it nearly impossible to catch layout problems before the adhesive is applied. Once mortar cures, correcting alignment issues means removing and replacing tile - a far more expensive fix than a dry layout rehearsal.
Time is the resource most often sacrificed on DIY tiling projects. Adhesive cure times, waterproofing membrane dry times, and grout cure periods all exist for structural reasons. Compressing them introduces risk that isn't visible until the tile is long finished and grout is cracking or walls are damp.
When in doubt about substrate condition, waterproofing requirements, or the scope of structural repairs, consulting a licensed tile contractor for an assessment - even if you plan to do most of the work yourself - is a practical way to catch problems early. Some work, particularly involving moisture barriers in showers or floor drains, may also be subject to local building permit requirements. Verify those requirements with your local authority before starting.