Why Seasonal Checks Make Financial Sense
Most mechanical failures don't happen without warning - they follow weeks or months of gradual wear that a simple visual or hands-on inspection would catch. Seasonal transitions are the logical trigger for these checks because temperature swings directly stress the components most likely to fail: tire pressure drops roughly 1 PSI for every 10°F decrease in temperature, coolant formulations matter differently in extreme heat versus freezing cold, and battery capacity decreases measurably in winter.
The full-lifecycle maintenance picture is more involved, but running through this checklist four times a year handles the majority of routine oversight that keeps ownership costs predictable. Done consistently, it also builds the kind of service record described in our guide to keeping a vehicle service log - useful at resale and invaluable when something does go wrong.
Work through each group below in order. Items marked must are non-negotiable; should items are strongly recommended for most drivers; nice to have items add further peace of mind if you have the time.
Tire pressure gauge
Required to accurately check tire pressure against vehicle placard specifications.
Tread depth gauge
Measures remaining tire tread precisely; a coin or quarter can serve as a rough alternative.
Battery tester
Tests battery voltage and cold-cranking capacity to flag a weak battery before it fails.
Flashlight or work light
Essential for inspecting fluid levels, undercarriage, and engine bay components in low light.
Clean rags or paper towels
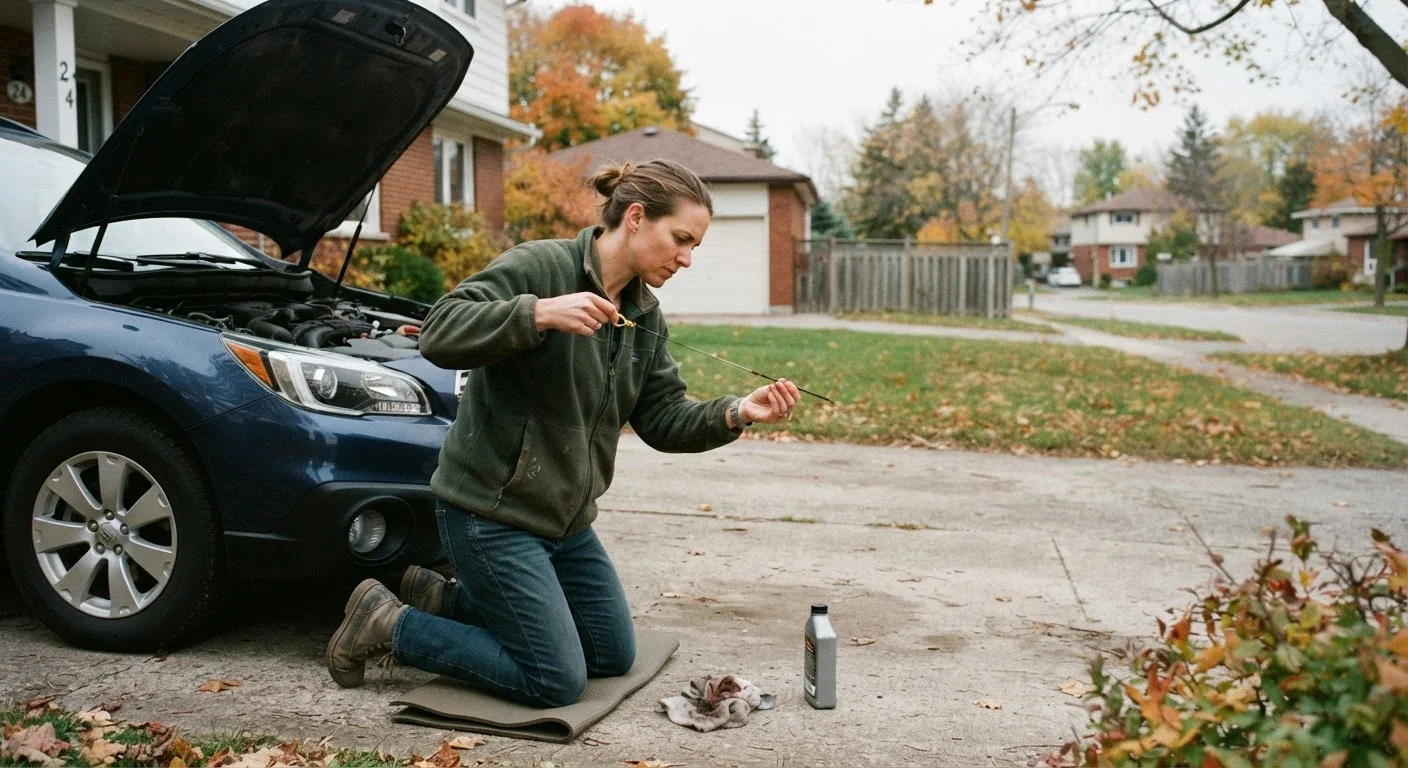
Needed for wiping dipsticks cleanly before reading oil or transmission fluid levels.
Vehicle owner's manual
The authoritative source for fluid specifications, filter intervals, and component locations specific to your vehicle.
The Full Seasonal Inspection Checklist
Work through these groups systematically. For fluid checks, always consult your owner's manual for the correct specifications - the right coolant mix or transmission fluid type for your vehicle may differ from a generic recommendation. Our guide to overlooked fluid checks covers several of these in greater depth if you want to go further.
Fluids
Tires
Filters
Lights and Electrical
Safety Systems
Brake Concerns Require a Professional
This checklist includes visual and sensory brake checks any driver can perform. However, brake component inspection - pads, rotors, calipers, and lines - requires a qualified mechanic with the proper lift and tools. If you notice grinding, a soft pedal, pulling to one side, or vibration when braking, do not delay scheduling a professional inspection. Brakes are a safety-critical system; general DIY guidance is not a substitute for hands-on professional assessment.
After the Inspection: What to Do With What You Find
Small issues found during this check - a worn wiper blade, a slightly low tire - are straightforward to address yourself or at any quick-service shop. For anything involving brake components, suspension, or warning lights you can't immediately explain, schedule a professional inspection promptly. Our brake maintenance explainer walks through what a mechanic is actually checking during a brake inspection, which helps you have a more informed conversation at the shop.
If a dashboard warning light appeared during or after your check, don't ignore it. The guide to reading dashboard warning lights gives plain-language explanations for the most common symbols. And if this inspection prompts you to look more broadly at what you're spending on your vehicle each year, the annual car cost audit is a useful companion exercise.
Don't Rely on Dashboard Lights Alone
Several issues this checklist is designed to catch - low tread depth, battery corrosion, cloudy fluid - will not trigger a warning light until they have already caused a problem. A warning light appearing is a signal that something has already degraded past a threshold, not an early warning system. Running this inspection proactively is what catches issues before the light comes on.
Finally, consider whether your insurance coverage still reflects your vehicle's condition and how you're using it. A well-maintained car is a lower-risk car, and it's worth periodically reviewing your policy - the auto insurance renewal checklist makes that straightforward.