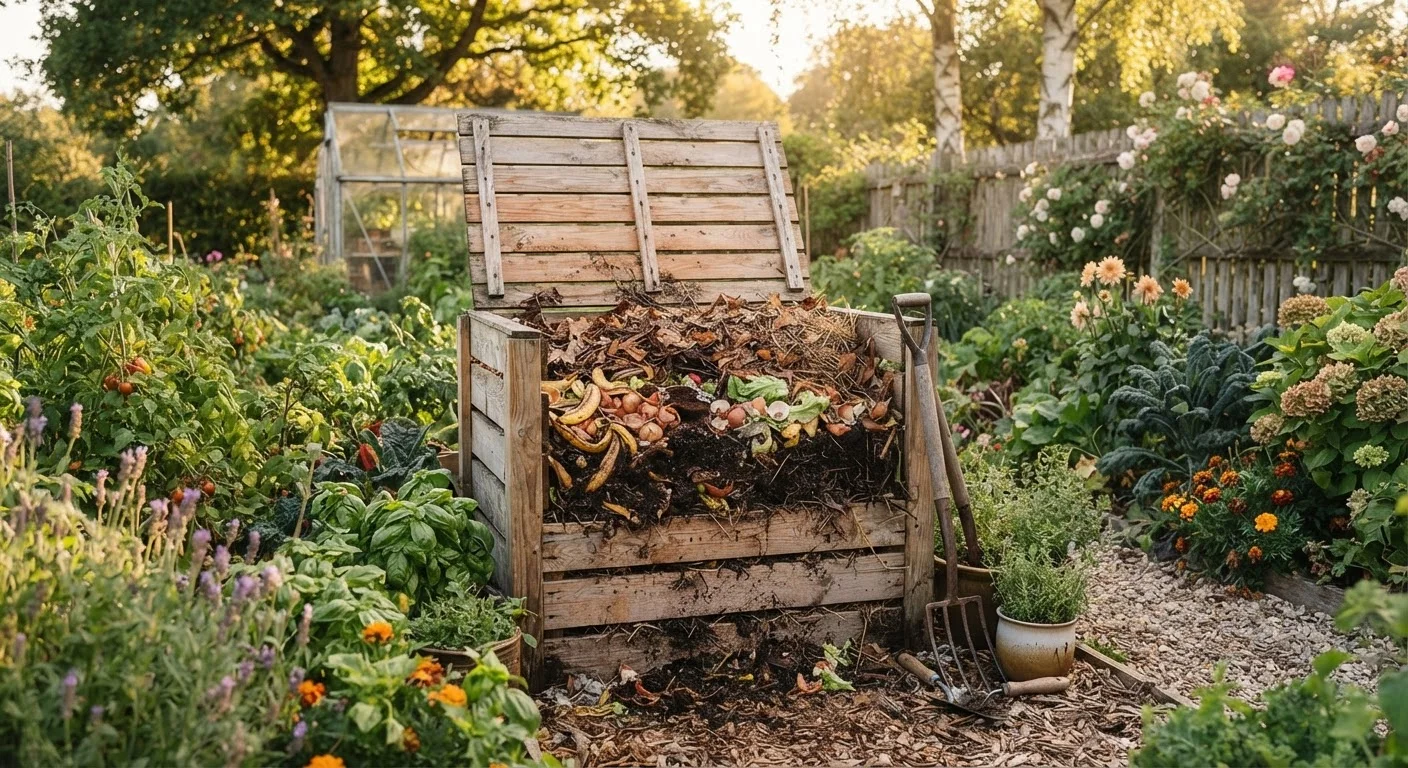
Why Composting Is Worth the Effort
Composting converts materials that would otherwise go to landfill into a genuinely useful soil amendment - one that improves structure, feeds soil biology, and reduces the need for purchased fertilizers. For gardeners working on a budget, it is one of the most cost-effective investments you can make in your outdoor space.
Beyond the garden, composting diverts a meaningful portion of household waste. The US EPA estimates that food scraps and yard trimmings together make up a significant share of what households send to landfill each year - all of it potentially compostable. The process itself is simple biology: microorganisms break down organic matter when given moisture, oxygen, and a balanced diet of carbon and nitrogen.
Whether you're starting a vegetable garden from scratch or refreshing established beds, a steady supply of homemade compost gives you a resource that would otherwise cost money to buy. Finished compost works particularly well when combined with other organic practices like mulching, which further reduces watering needs and stabilizes soil temperature.
Compost bin or designated pile area
Contains the composting materials, retains heat, and discourages pests.
Garden fork or compost aerator
Turns and aerates the pile to speed decomposition and prevent compaction.
Kitchen countertop collection container
Collects vegetable scraps, coffee grounds, and eggshells between trips to the bin.
Garden hose or watering can
Adds moisture when the pile dries out, which is necessary for microbial activity.
Thermometer (long-stem compost type)
Monitors internal pile temperature to confirm active hot composting is occurring.
What to Add - and What to Leave Out
The range of compostable materials is broader than most people realize. On the kitchen side, nearly all raw fruit and vegetable scraps are fair game, along with coffee grounds, paper filters, tea leaves, and eggshells. From the yard, fallen leaves, grass clippings, spent plants, and small twigs all break down well.
Keep These Materials Out of Your Pile
Do not add meat, fish, bones, dairy products, or oily cooked foods to a standard backyard compost bin. These attract pests, create odor problems, and can introduce pathogens. Dog or cat waste and diseased plant material should also be excluded - they can harbor harmful organisms that typical home composting temperatures may not eliminate.
A few additional materials to handle with care: grass clippings treated with herbicide should be avoided for at least several weeks after application, as residual chemicals can persist through decomposition. Cardboard and paper are excellent browns but should be free of glossy coatings. Citrus peels and onion skins are fine in modest quantities but break down more slowly than softer scraps.
If you're gardening in a small space like a balcony or patio, a compact worm bin (vermicomposting) is an effective alternative that works indoors or in tight quarters - a practical option explored further in our guide to container gardening on a balcony or small patio.
Using Compost in Your Garden
Once you have a batch of finished compost, there are several effective ways to put it to work. The most straightforward method is to work 2-4 inches into the top layer of soil before planting. This improves both drainage in clay soils and moisture retention in sandy soils - a benefit that synthetic fertilizers alone cannot replicate.
Compost also works well as a top-dressing around established perennials and shrubs, applied in spring or fall and left to integrate naturally through rainfall and earthworm activity. For container plants, mixing compost into potting medium provides a steady, slow-release nutrient source.
Speed Things Up with a Compost Activator
If your pile seems slow to heat up, add a thin layer of finished compost, garden soil, or a small amount of nitrogen fertilizer to introduce the microbial community it needs. A handful of soil from an established bed is often enough to kick-start biological activity without any purchased product.
Keep in mind that compost is not a substitute for all soil amendments. Depending on what your soil test reveals, you may also need to adjust pH or add specific minerals. Our guide to soil amendments explains how compost fits alongside other inputs and when additional amendments are genuinely warranted.
Choose your composting method
Decide between hot composting and cold composting based on your available time and effort.
- Hot composting involves actively managing your pile - turning it every few days and keeping it moist - to reach internal temperatures of 130-160°F. This kills weed seeds and pathogens and produces finished compost in 4-8 weeks.
- Cold composting is a hands-off approach where you simply add materials over time and let them break down naturally. It requires minimal effort but takes 6-12 months to produce usable compost.
Most home gardeners start with cold composting for convenience and move to hot composting when they want faster results.
Select and set up your bin or pile location
Choose a level, well-drained spot with partial shade - full sun can dry out the pile too quickly. A bin should be at least 3×3×3 feet to generate and retain enough heat. You can use a purchased plastic bin, a simple wire cage, or wooden pallets arranged into a three-sided enclosure.
Place the bin directly on soil rather than concrete when possible. Earthworms and soil microorganisms will migrate into the pile naturally, accelerating decomposition.
Collect and balance your materials
Healthy compost relies on a roughly 3:1 ratio of brown (carbon-rich) to green (nitrogen-rich) materials by volume.
- Brown materials
- Dry leaves, cardboard torn into small pieces, straw, paper bags, wood chips, and sawdust from untreated wood.
- Green materials
- Vegetable and fruit scraps, coffee grounds, tea bags (remove staples), fresh grass clippings, and plant trimmings.
Keep a small covered container in your kitchen to collect daily scraps - this reduces the number of trips to the bin and makes the habit easier to maintain.
Build and layer the pile
Start with a 4-6 inch layer of coarse browns like wood chips or straw at the base to allow airflow. Alternate layers of greens and browns, watering lightly between layers so the pile feels like a wrung-out sponge - damp but not dripping.
If you're cold composting, simply continue adding materials in alternating layers as they become available. For hot composting, build the full pile at once to give it the mass it needs to heat up quickly.
Turn and monitor the pile regularly
For hot composting, turn the pile every 3-7 days using a garden fork. Move material from the edges toward the center, where temperatures are highest. A long-stem thermometer lets you confirm the pile is reaching active decomposition temperatures (above 130°F).
For cold composting, occasional turning - even once every few weeks - helps incorporate oxygen and speeds things up modestly. Check moisture each time you turn.
Recognize and harvest finished compost
Compost is ready when it is dark brown, crumbly, and smells like fresh earth - not like rotting food. You should not be able to identify the original materials.
To harvest, stop adding new material and allow the pile to fully mature. Sift the finished compost through a coarse screen to separate any large undecomposed chunks, which can go back into the next pile. Use finished compost as a soil amendment worked 2-4 inches into garden beds, or as a top-dressing around established plants.
For guidance on how compost interacts with other soil amendments, see our soil amendments guide.